Step-by-step guide: How to create new HelpNDoc projects
HelpNDoc’s straight-forward user interface provides easy and fast creation of new documentation projects: only a few simple steps are necessary to get up and running with a new HelpNDoc project.
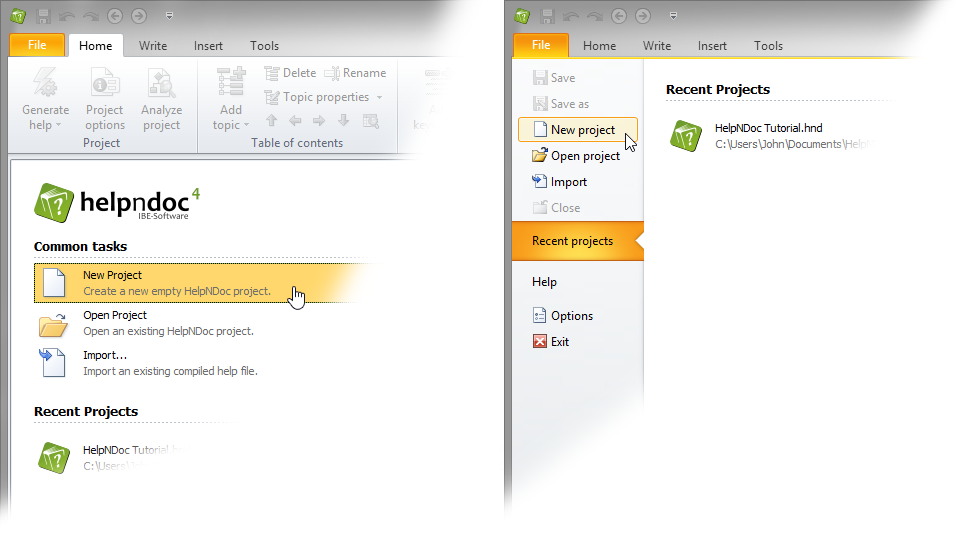
Step 1
There are two ways to create a new project in HelpNDoc.
- Click “New project” in the “Common tasks” section of the “Welcome” screen
- Or click the “File” menu… then “New project”
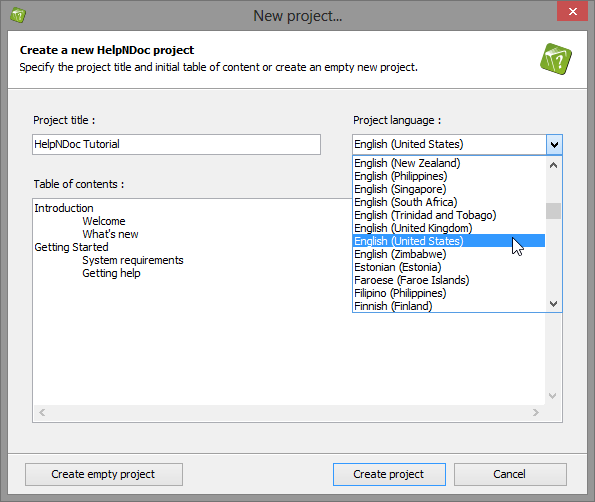
Step 2
The “New Project” dialog pops-up.
- We can enter a title for our new project
- And select the project language
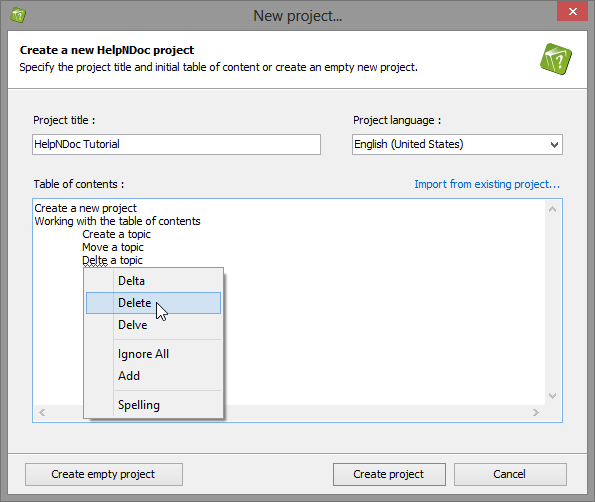
Step 3
We can also create an initial table of contents, using the TAB and SHIFT-TAB keyboard shortcuts to quickly organize the hierarchy.
Notice how the live spell checker is always available to help.
Let’s create that sample project by clicking “Create project”.
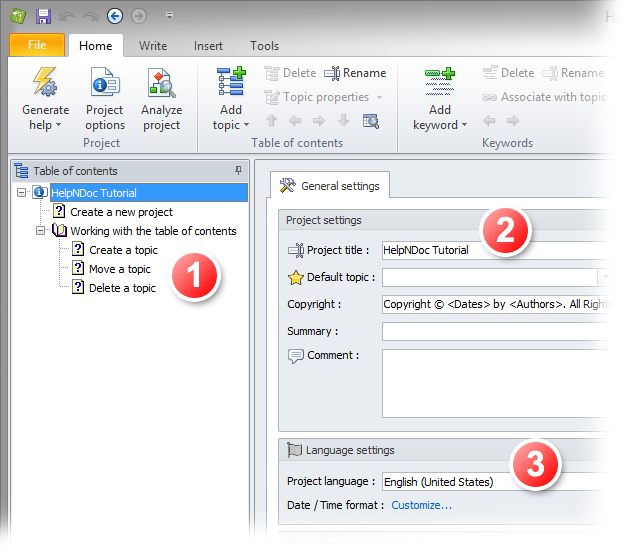
Step 4
- HelpNDoc has automatically created the table of contents hierarchy for us.
- It has also correctly set up the “project title”
- And the “project language” settings as requested
That’s how easy it is to create new projects with HelpNDoc. We can now focus on the most important part: creating great content! We will see how HelpNDoc can greatly help with that in another tutorial.