Step-by-step guide: How to manage build tags
By default, all content in all topics is included when the documentation is published. HelpNDoc makes it easy to generate conditional content, giving you complete control over what is included in each of your outputs.
Conditional content generation can be helpful in many ways, here are two:
- Multiple outputs: If you publish documentation in several formats, you can generate conditional content to tailor text that is specific to each format. For example, instructions for the use of electronic help are different than scrolling PDF or reading hardcopy.
- Multiple versions: Rather than maintaining multiple versions of a project to support multiple versions of your product, you can instead maintain one project and use conditional output to generate documentation that is tailored to each version.
When you define conditional output you use build tags. You can associate build tags with topics or sections of topics, and you can associate build tags to selected builds. As a result, build tags are the foundation for defining conditional output.
There are two types of build tags:
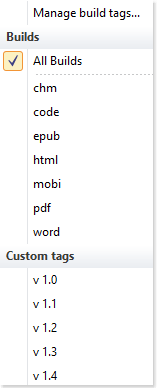
- Standard tags are the default tags offered by HelpNDoc. They are always available.
- Custom tags are user-defined. There are two simple steps for defining custom build tags.
Step 1: Access the “Manage build tags” dialog
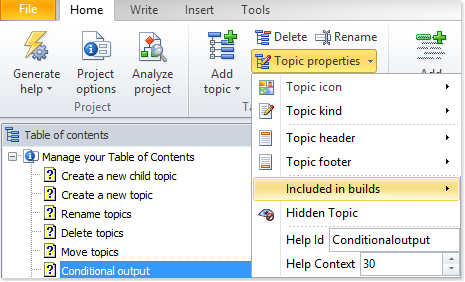
Option 1
Click Topic properties in the Table of Contents section of the Home ribbon tab. This displays a menu.
Select Included in builds then click Manage build tags… to display the tag editor window.
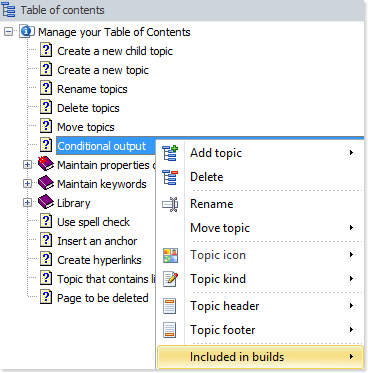
Option 2
Right-click a topic in your table of contents to display the popup menu.
Select Included in builds then click Manage build tags… to display the tag editor window.
Step 2: Manage custom tags
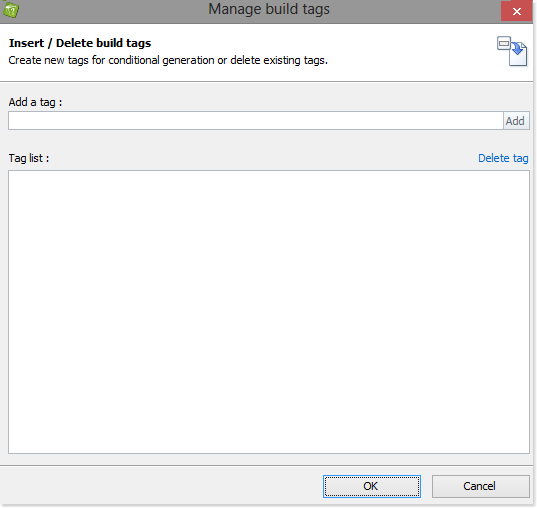
This displays the new tag in the Tag List.
When you’re done, click OK to close the window.
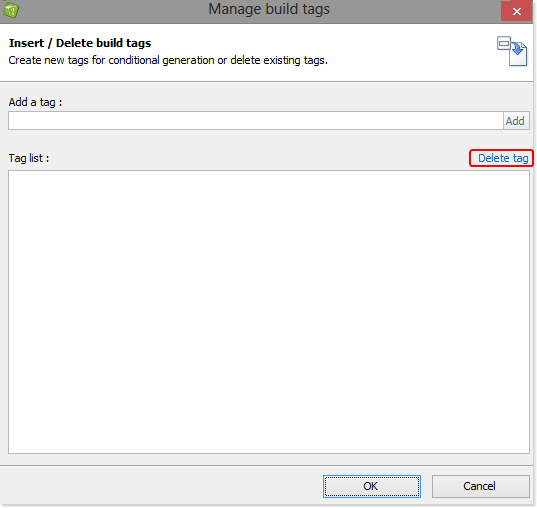
Click the tag that you’d like to remove.
Then, click Delete tag.
Click OK to close the window.
Using conditional content generation can be a great time saver. Thanks to HelpNDoc’s flexible tagging system, you can customize your generation process the way you like it. We’ll see in another guide how to use the newly created tags for conditional generation: