Step-by-step guide: How to rename a publishing output in HelpNDoc
You can define the outputs that are generated when you publish your documentation. After you’ve created a publishing output, it is displayed in your build list. When you publish your documentation, it is displayed with its assigned name. To support your specific requirements, you may update this name for any output at any time.
There are three easy steps for renaming outputs.

Step 1
Click the top half of Generate help in the Home ribbon tab.
This displays the Generate Documentation window.
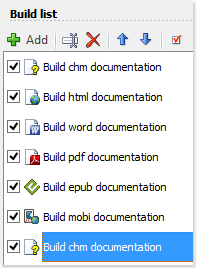
The names of your outputs are listed along the left-hand side in your build list.
These names are displayed when you generate your documentation.
Step 2
Next, you’ll select the output that you’d like to rename. There are three ways to do this:

Option 1
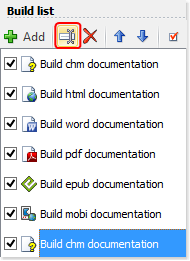
Click the name of the output that you’d like to update. This highlights that output.
Click Rename in the build list menu.
This switches the name into “edit mode,” allowing you to update it.

Option 2
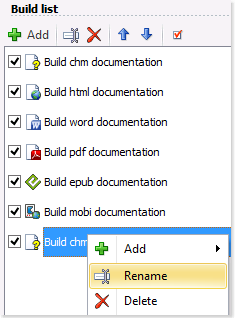
Right-click the output that you’d like to rename. This displays a menu.
Click Rename.
This switches the name into “edit mode,” allowing you to update it.

Option 3
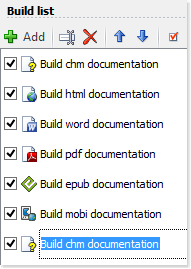
Click the name of the output that you’d like to rename, and then press F2 on your keyboard.
This switches the name into “edit mode,” allowing you to update it.

Step 3
Enter the new name and press return to save it.
This displays the updated name in your build list. The next time you generate documentation using your build list, the output will be displayed with its new name.
See also
- Secure Your PDF Documents Effortlessly with HelpNDoc
- Streamlined Build Asset Management and Table Formatting Defaults for Faster, More Organized Documentation in HelpNDoc 9.7
- New FTP Actions, Improved PDFs, Overridden Library Items, and More in HelpNDoc 9.0
- Empowering Technical Writers: Harnessing HelpNDoc's Override Features for Unlimited Documentation Variations
- How to add a cover image to ePub and Kindle eBooks